4.5 KiB
title, description, date, slug, image, keywords, categories, tags
| title | description | date | slug | image | keywords | categories | tags | |||||||
|---|---|---|---|---|---|---|---|---|---|---|---|---|---|---|
| 远程开发 CodeServer 部署 | 基于 docker 部署远程开发环境 CodeServer | 2025-04-22 | remote-dev-codeserver | codeserver.png |
|
|
|
一、CodeServer 是什么
Run VS Code on any machine anywhere and access it in the browser.
“在任何地方的任何机器上运行VSCode,并在浏览器中访问它。”
众所周知,VScode是一款非常流行的代码编辑器,通过丰富的插件能够支持我们各种各样的代码开发需求。
但是,无论是本地开发,还是远程开发,都需要在本地设备上安装VSCode本身。这就对我们 “随地大小码” 的需求,产生了比较大的阻碍。
此时,CodeServer 就及其适当的解决了这个阻碍,能够仅依靠浏览器就实现远程开发的基本诉求。
二、部署
DockerHub: codercom/code-server
可以按照官方的docker部署方式:
# This will start a code-server container and expose it at http://127.0.0.1:8080.
# It will also mount your current directory into the container as `/home/coder/project`
# and forward your UID/GID so that all file system operations occur as your user outside
# the container.
#
# Your $HOME/.config is mounted at $HOME/.config within the container to ensure you can
# easily access/modify your code-server config in $HOME/.config/code-server/config.json
# outside the container.
mkdir -p ~/.config
docker run -it --name code-server -p 127.0.0.1:8080:8080 \
  -v "$HOME/.config:/home/coder/.config" \
  -v "$PWD:/home/coder/project" \
  -u "$(id -u):$(id -g)" \
  -e "DOCKER_USER=$USER" \
  codercom/code-server:latest
建议将参数 -it 改为 -itd,使容器后台运行,避免占用终端。
可以根据自己的实际情况,修改映射目录,以及映射端口。如果是服务器上,建议将 -p 127.0.0.1:8080:8080 改为 -p 8080:8080,监听所有IP,以便远程访问。
需要注意的是,如果你是root用户的话,上述脚本的 -v "$HOME/.config:/home/coder/.config" 这一行,需要改为root用户目录 -v "$HOME/.config:/home/root/.config"
因为启动容器的时候指定了容器内的用户,是当前用户,所以root用户需要特殊处理。
上述脚本执行完成之后,会将当前目录($PWD)映射到容器的 /home/coder/project,并且将当前目录中的 .config 目录映射到容器的用户目录内。
容器运行起来后,.confg 目录中会创建 code-server 目录,其中包含了 CodeServer 的配置文件:config.yaml,文件内容默认如下:
bind-addr: 127.0.0.1:8080
auth: password
password: xxxxxxxxxxxxxxxxxxxxxxxx
cert: false
其中的 password 字段(首次启动时随机生成的),是你等会登录需要使用的登录密码。
三、使用
3.1 登入
根据你映射的端口,直接用浏览器访问。按照上述设置(http://[your server ip]:8080/)
会看到如下页面:
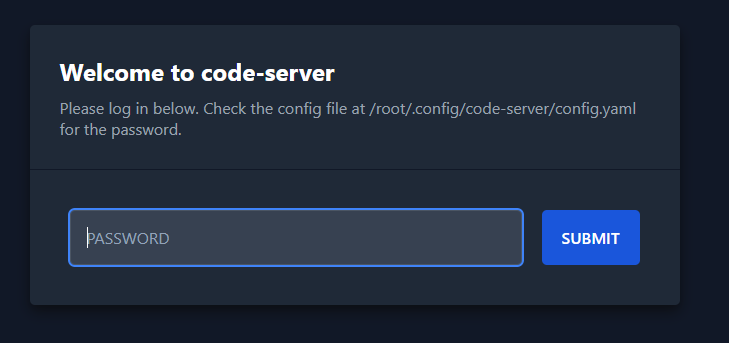
填入config.yaml里面获得的密码(或者按照页面上的提示,去容器里找密码)。
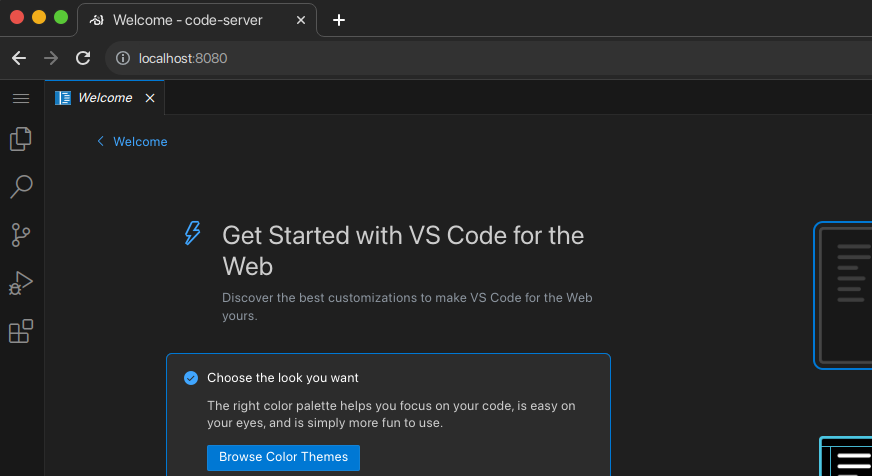
SUBMIT 之后,你就能看到熟悉的VSCode页面了。
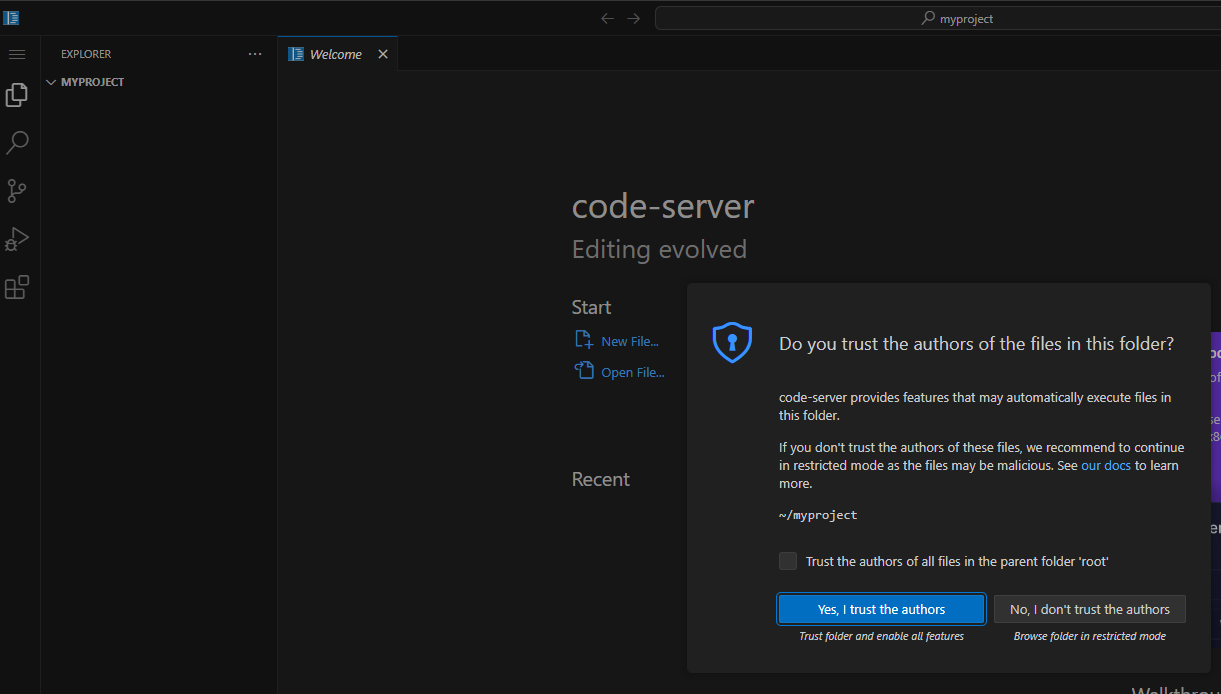
3.2 创建项目目录
目前还是默认页面。可以通过 Ctrl + ` 打开控制台。创建项目目录,比如:
mkdir /home/coder/project/myproject
然后,可以通过url跳转到你的目录:
http://[your server ip]:8080/?folder=/home/coder/project/myproject
接下来就是你熟悉的VSCode项目界面了:
3.3 其他
这个容器,默认是个Debian系统:
# cat /etc/os-release
PRETTY_NAME="Debian GNU/Linux 12 (bookworm)"
NAME="Debian GNU/Linux"
VERSION_ID="12"
VERSION="12 (bookworm)"
VERSION_CODENAME=bookworm
ID=debian
HOME_URL="https://www.debian.org/"
SUPPORT_URL="https://www.debian.org/support"
BUG_REPORT_URL="https://bugs.debian.org/"
目前,这个环境里啥都没有,你可以自己安装环境。
也可以通过插件标签页,安装自己熟悉的插件。但是需要注意的是,并不是所有的VSCode插件它都有,但是大部分都是兼容的。
CodeServer 是支持同时打开多个窗口的,多个浏览器标签页,打开多个项目,并不会有冲突。